1. Should a curved screen protector cover the whole edge?
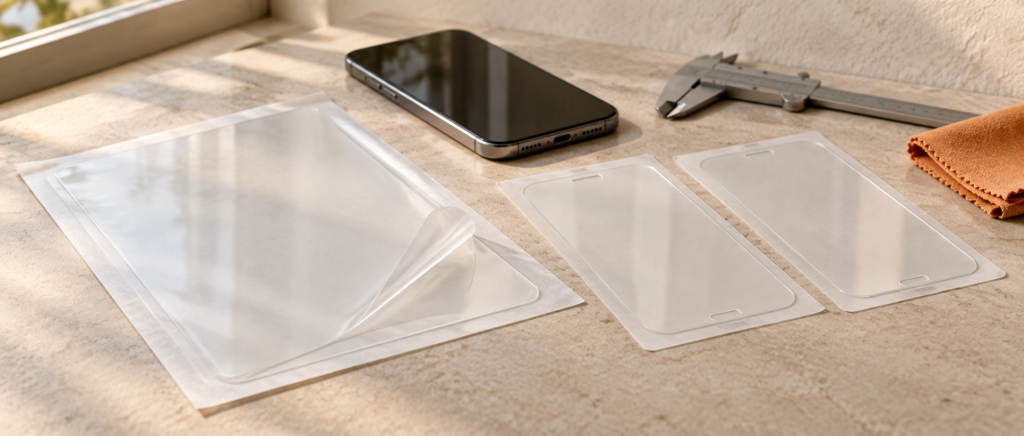
Choose a curved screen protector by its coverage boundary before choosing glass or film. A protector that stops before the steep curve can be a deliberate option for protecting the central viewing area, provided the customer accepts the uncovered portion. A protector intended to extend over the curve must also fit the phone case and keep the required controls and sensors usable. More coverage is useful only when the installed edge stays attached.
For a repair shop, the first question is practical: does the customer want a glass surface over the center, or protection extending into the curved side area? Show where the proposed protector ends on the actual phone. If visible pixels continue beyond that boundary, describe them as uncovered; do not call a smaller protector full-screen protection.
1.1 Check three boundaries on the same device
- Visible display: inspect a lit screen so that the protector edge or printed border does not hide content the customer expects to see.
- Curve transition: look across the screen in reflected light to see where the surface begins to slope and whether the proposed protector follows it.
- Case opening: fit the intended case at the stage allowed by the protector instructions and inspect each corner and side for contact with the protector.
A label such as “3D” or “full cover” does not tell you where these boundaries fall. Compare the sample and a coverage drawing with the exact device rather than choosing from the label alone. Leave the clearance specified for that product and case combination; there is no universal gap measurement supplied by this guide.
This article concerns phones with a fixed curved cover surface. A foldable inner display has a different service boundary: use the device maker’s guidance and an approved service process for that display.
2. Which construction fits the coverage you need?
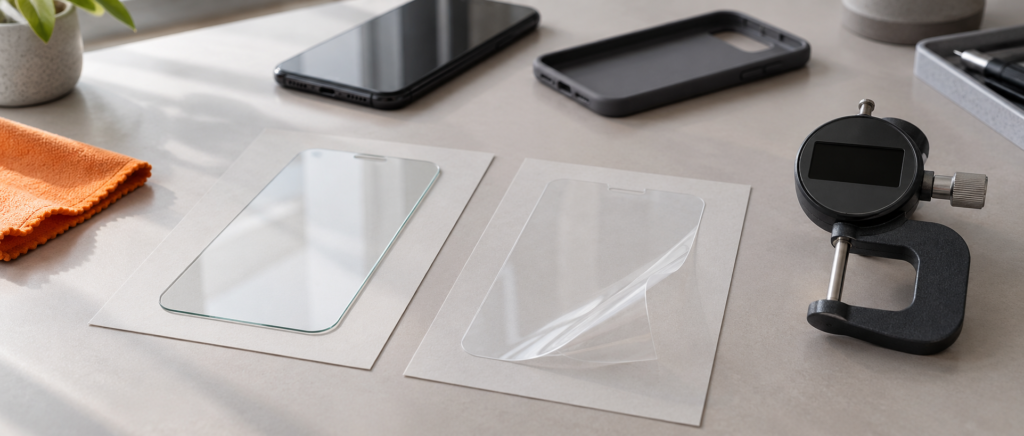
Glass can work on a curved screen when its shape and attachment system fit the intended phone. Flexible film is another option, but flexibility alone does not prove edge retention. Compare the installed construction, coverage and process rather than treating either material as a universal winner.
| Construction offered | Coverage decision | Sample must demonstrate |
|---|---|---|
| Glass limited to the central area | Accept a boundary before the curve if that matches the customer’s priority. | The actual protected area, usable display and case clearance; no implication that exposed curved portions are covered. |
| Shaped glass with pre-applied adhesive | Match the shaped portion to the intended curved edge. | Correct contour and outline, documented adhesive placement, stable contact and normal input operation. |
| Glass with liquid adhesive and UV curing | Evaluate the model-specific glass and installation kit together. | Controlled adhesive flow, alignment, the kit’s cure process, case fit and a usable removal procedure. |
| Flexible film or hybrid polymer | Check how far the selected cut and adhesive extend onto the curve. | Alignment without stretching, attachment after the stated settling period, surface feel and clearance from the case. |
2.1 Glass shape and adhesive coverage are separate checks
A curved outline does not establish full-area adhesive contact. For example, ZAGG identifies the border on its Glass Curve product as its perimeter adhesive. That is evidence about that construction, not a rule for all curved glass. Record whether the sample uses perimeter, patterned or full-area adhesive and which visible border is intentional before classifying it as a defect.
Inspect the center as well as the curved sides. A protector can appear aligned from above yet leave a gap along a side or place a printed border over content. Do not try to bend rigid glass into place or hold it down by force. A contour that repeatedly fails to match the intended screen calls for a different sample or a documented product correction.
2.2 UV glass needs its own complete installation process
Liquid-adhesive glass adds a process decision to the fit decision. The store needs the correct glass, adhesive, fixture and curing equipment, plus the instructions for that exact kit. Do not infer UV exposure settings from another brand or substitute a lamp because it looks similar.
Whitestone’s support guidance links defects in its Dome Glass system to residue, movement during installation, incomplete cure, insufficient edge adhesive flow and case interference. Those are reasons to control the process; they are not proof that UV glass is best for every curved phone. If the store cannot carry out the documented process consistently, choose another compatible construction for its service offering.
2.3 Flexible film still requires an approved cut and edge fit
Flexible products provide a different way to follow a curve. ZAGG’s Fusion Curve for Pixel 7 Pro, for example, is described as a flexible hybrid polymer designed for that device. Its device-specific description does not establish compatibility for another phone or for a different film.
JJT’s TPU cutting-film family is a starting point for selecting a flexible material. The material page does not approve a particular curved-phone cut, case or fingerprint reader. For a usable sample, identify the film version, the exact device template and the application instructions together. Keep JJT’s UV-curing film separate from a liquid-adhesive glass kit when ordering and training installers; obtain the process for the selected film product rather than borrowing a glass-kit procedure.
3. How do you confirm case, touch and fingerprint compatibility?
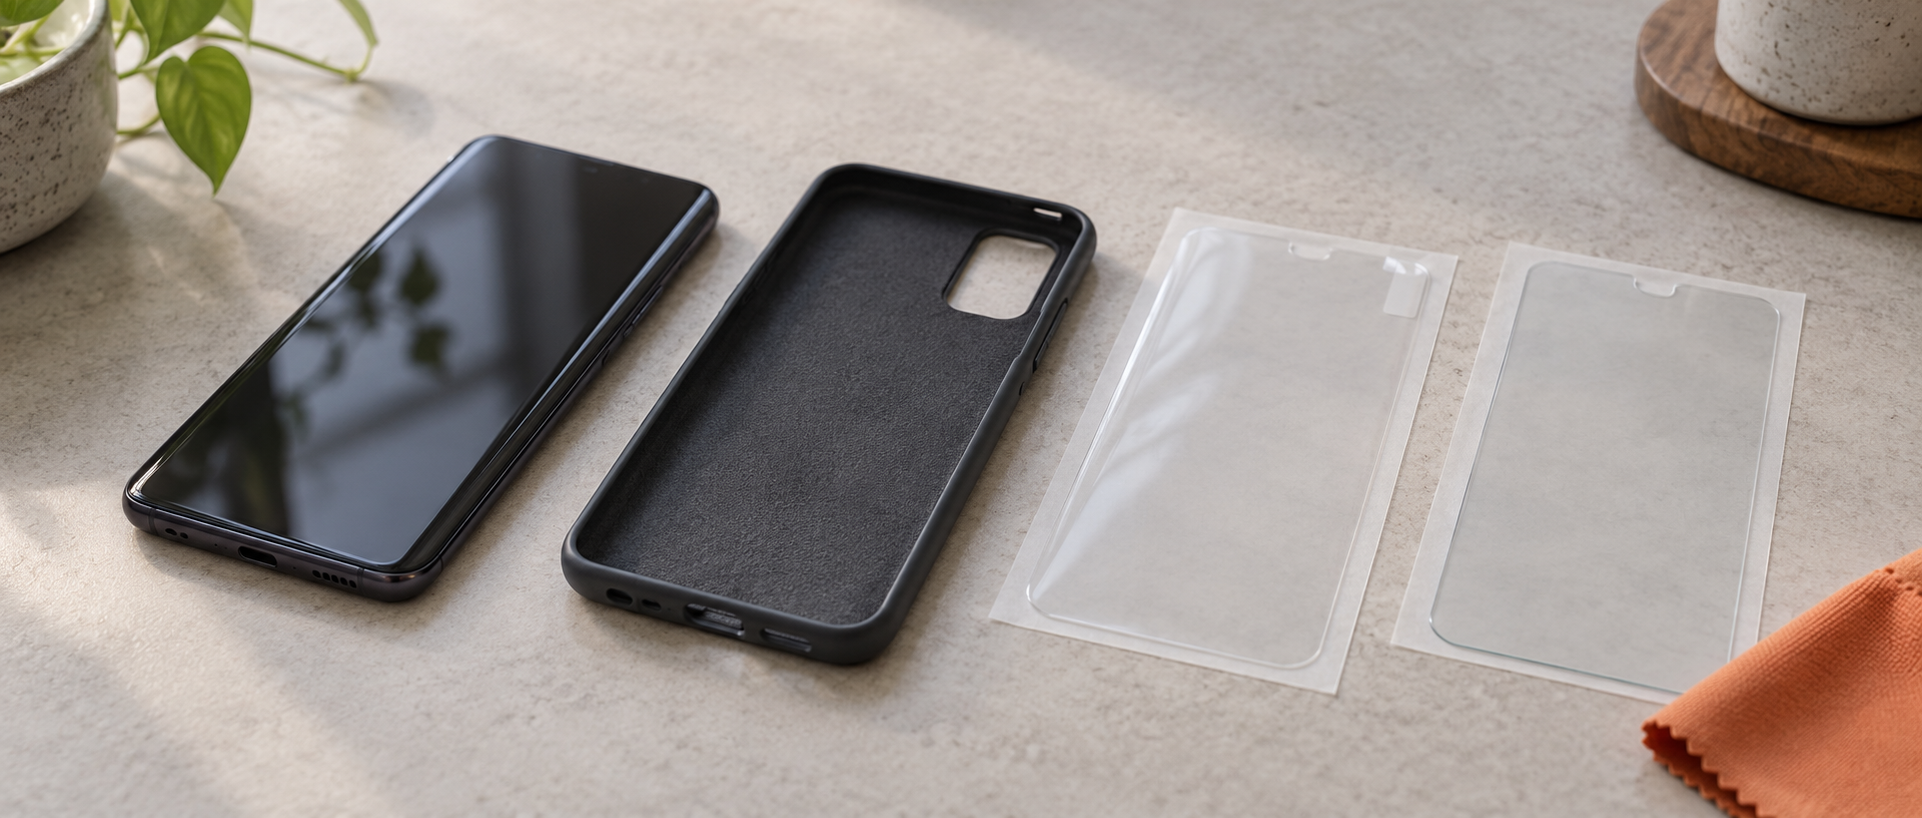
Approve a named combination: device model, protector version, case and installation process. A successful sample on a related phone does not approve the customer’s phone, and a case that fits the bare device may still push against a protector.
- Record the exact device. Check its model designation in device settings and match the sample packaging or template record. Note any replacement display because the sample must fit the screen actually installed.
- Check the protector without case pressure. Follow the specified installation and settling or cure process, then photograph the edge position and any gaps before introducing the case.
- Inspect with the actual case. Fit it normally when permitted. Check whether its lip contacts, presses over or catches a protector edge. Do not force the case over a raised edge.
- Test the customer’s input tasks. Try typing near both sides, edge gestures and the stylus if the device uses one. Record any missed input and whether it occurs with the case fitted.
- Check fingerprint recognition separately. Compare normal unlocking before and after installation, following the device maker’s setup guidance. Record the test attempts and failures rather than calling a single successful unlock a pass.
Samsung notes that some third-party protectors can interfere with recognition and that fingerprints may need registering again after installation. Follow the instructions for the actual device. If recognition remains unreliable, reject that combination for customers who need fingerprint unlock; a “fingerprint compatible” label is insufficient evidence.
For a store carrying several cases, maintain a short approved pairing list with the precise case and protector versions. Sell untested pairings as unverified rather than carrying approval from one case to every case in the same brand.
4. What should you do when the curved edge lifts?
Identify when and where lifting began before pressing it down or replacing the material. Case pressure, mismatched coverage and an installation defect can look similar at the edge. The pattern helps choose the next check, but it does not prove a root cause by itself.
| What you observe | What to check next | Decision boundary |
|---|---|---|
| Lift starts when the case is fitted | Inspect the same edge with the case removed, where removal is safe, and look for lip contact. | Stop using the interfering pairing. Do not rely on repeated pressing to overcome the case. |
| One side extends farther than the other | Check model identity, centering and the intended coverage drawing. | Correct alignment only if the product allows it; otherwise replace with a correctly matched sample. |
| A local bubble has a visible speck | Check the manufacturer’s contamination and replacement instructions. | Do not inject an improvised liquid into the gap or assume more UV exposure will remove dust. |
| Broad lift persists without a case | Review the contour, adhesive contact and the product’s stated settling or cure process. | Do not force an unknown contour or repeatedly reuse an adhesive that is not reusable. |
| UV installation is followed by poor sound or sticking buttons | Stop the installation and arrange device inspection for possible adhesive intrusion. | Do not add adhesive, cure material in an opening or attempt a generic solvent repair. |
The distinction between temporary settling and a failed bond belongs to the product instructions. ZAGG’s adhesive support guidance describes an initial settling period and directs replacement for unresolved problems; it also says the InvisibleShield addressed there cannot be removed and reinstalled. Do not transfer that procedure or waiting period to every film. Likewise, Whitestone states that curing will not eliminate bubbles already present in its glass system.
For liquid-adhesive kits, function changes are a stop condition. Samsung documents receiver and button problems caused by misused curing liquid. Follow the product’s precautions from the start and seek device service if intrusion is suspected. Random edge glue, extra heat and unapproved solvents are not a substitute for a matched system or its removal instructions.
5. What should a shop check before placing the order?
Use a small sample evaluation to decide whether the protector can become a repeatable store service. The aim is to approve the combinations you will actually sell, with an agreed coverage boundary and usable functions, before making a bulk claim.
5.1 Keep one record for each proposed combination
- Identity: device model, display condition, protector SKU or film version and template revision, case model, adhesive or kit revision where applicable.
- Coverage: photos of the lit display and each curved edge, any uncovered visible area, border intrusion and case contact.
- Installation: instructions used, installer, initial defects, rework and the result after the stated settling or cure process.
- Functions: touch and edge gestures, fingerprint attempts, stylus where applicable, receiver and button checks after a liquid-adhesive installation.
- Service outcome: approved removal method, replacement conditions and what staff should do when the same fault recurs.
Photograph the result before and after normal case fitting. Have another trained staff member repeat the documented installation on a separate sample before treating the process as ready for the store. This is a proposed shop check, not a JJT test result or a standardized durability rating. Agree your acceptance criteria before evaluating samples.
5.2 Send a sample brief that leads to a clear decision
Request the exact device model, desired coverage boundary, case models and required input functions in the same brief. For UV products, include the equipment and operator process you plan to use. Ask for the construction and instructions associated with that sample so that an approved result can be traced to the delivered version.
Use JJT’s tempered-glass range or TPU film family to start the product discussion, then request samples for the target device and case combinations. These category pages are not evidence that every listed construction fits your curved phone. Place the order around the approved sample and process, and recheck the affected items if the outline, adhesive, film, glass, kit or case changes.