1. How to Remove a Screen Protector: Identify the Added Layer First
To remove a screen protector safely, first confirm that you are dealing with an added accessory. On a conventional phone, a verified external glass protector or flexible film may be removable using its maker’s instructions. A factory-installed film on a foldable inner display needs a different decision: check the device manufacturer’s service guidance before touching it.
For a repair shop or retail counter, start with the exact phone model, the surface being serviced and the protector’s product name. Ask for the installation receipt, packaging or order history. An edge visible under light can help locate an added layer, but it does not identify the adhesive or prove that the layer is safe to peel.
| What is installed? | What to verify | Next action |
|---|---|---|
| External tempered glass | Exact protector and phone model; an added glass layer separate from the display | Use the protector maker’s glass-removal method. |
| External flexible film | Exact film family and installation method | Use that film’s lifting and peeling instructions. |
| UV-bonded glass or another UV system | Product name, adhesive system and current removal guide | Follow the specific system; do not infer the method from “UV.” |
| Factory film on a foldable inner screen | Device manufacturer’s instructions for that model and display | Arrange the prescribed service route. |
| Unknown layer or possible display damage | Installation records and device condition | Pause removal until the layer and fault are identified. |
Before powering down, record the customer’s reported problem and, if the device can be used safely, its current display and touch behavior. Lines, dark patches, flickering or failed touch are reasons to investigate the display first. A protector replacement should not be presented as a diagnosis or a guaranteed fix.
2. Remove Verified External Glass or Film Slowly
Prepare a clean, well-lit surface, unplug the phone and turn it off. Have the exact removal instructions and a replacement ready. Remove a case only as its instructions allow, and inspect the protector edge without probing the seam between the phone’s display and frame.
2.1 External glass: start at the protector corner
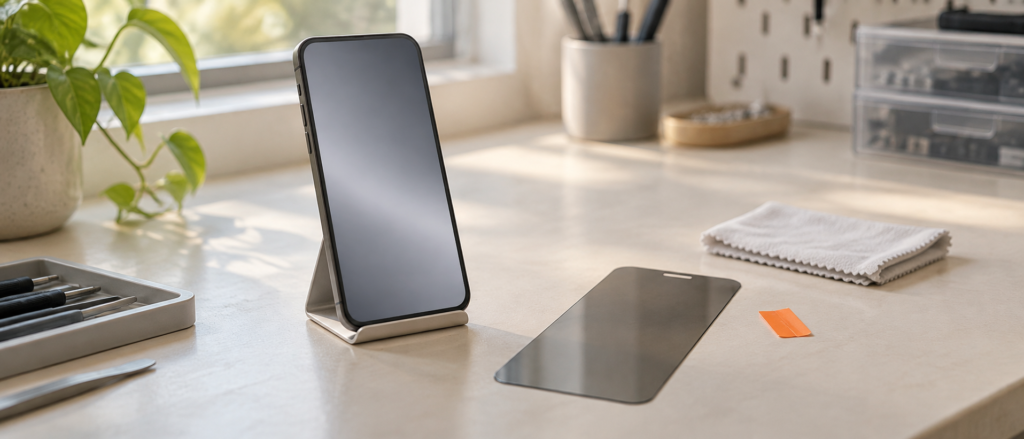
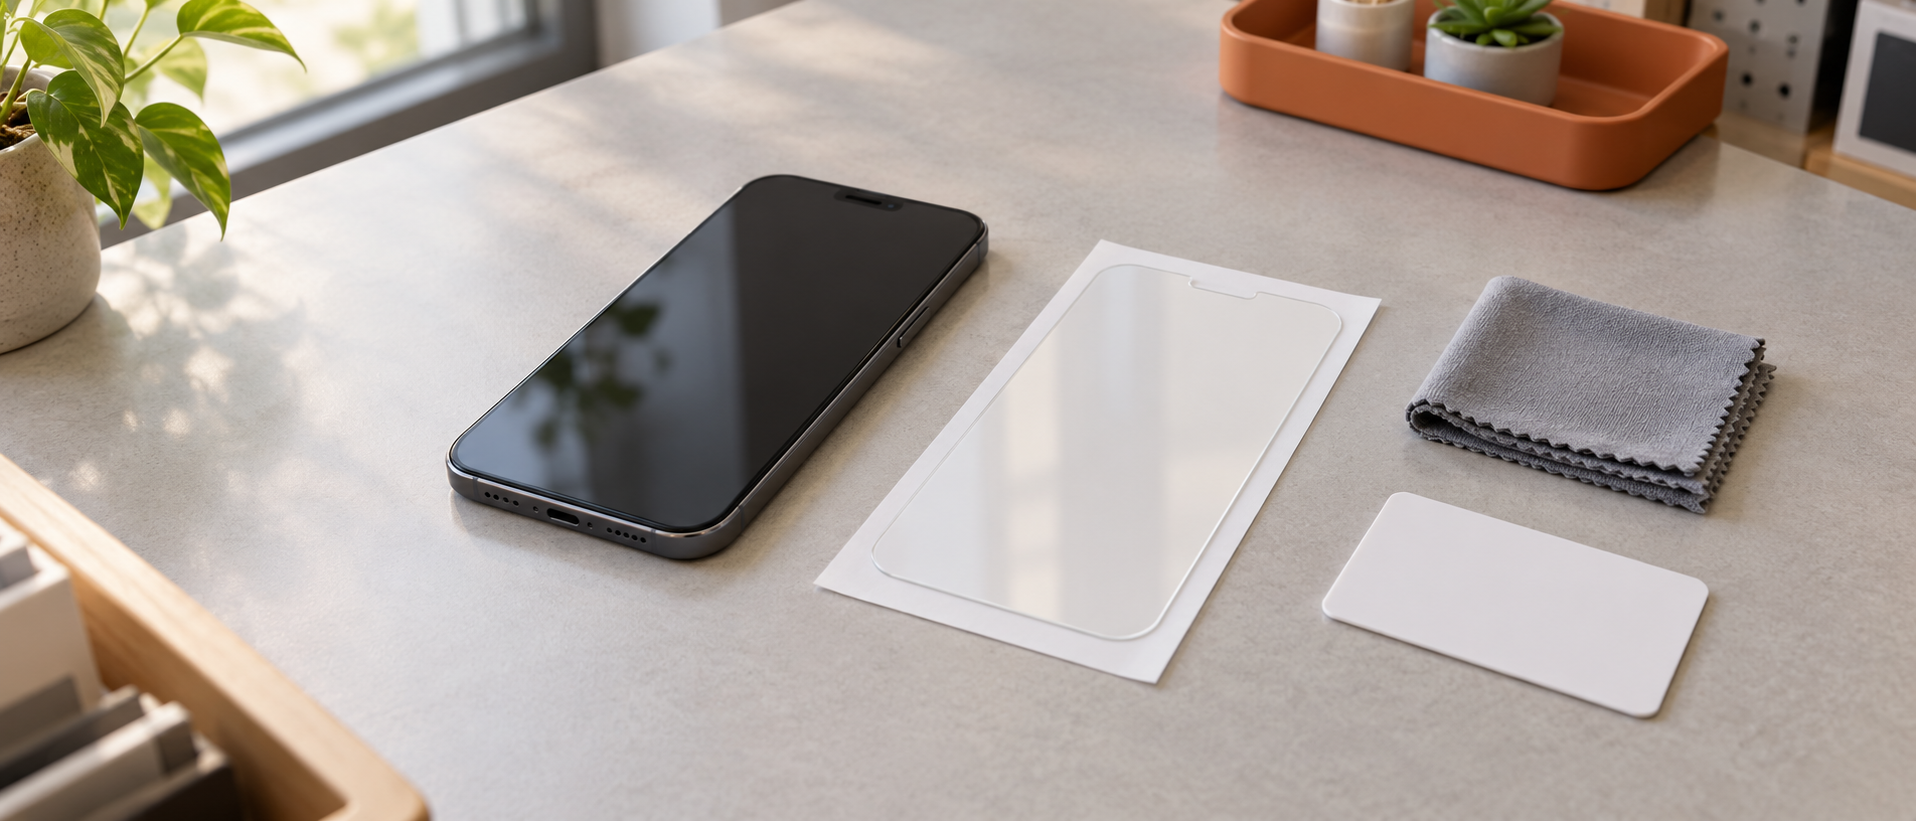
For its tempered-glass and full-cover-glass protectors, Spigen’s official removal guide describes lifting a corner with a stiff card, then holding the lifted corner and removing the protector slowly. That is a product-family example, not permission to pry every phone or adhesive system.
- Confirm that the product’s guide permits this method and that the card is clean and undamaged.
- Lift only the added protector’s corner. Keep the tool away from the display-to-frame seam.
- Once the corner releases, continue slowly as the guide directs. Do not force a firmly bonded area or bend the phone’s display.
- Stop if you cannot distinguish the layers, the display moves, or the protector will not release without increasing force.
2.2 External film: use the film maker’s lifting method
Spigen recommends tape at a corner for its Neo Flex and Curved Crystal films. Other flexible films can have different instructions. Check the product name rather than assuming all “hydrogel,” TPU or PET films use the same adhesive. Once an approved lifting method starts the peel, proceed gradually; if the film tears or leaves a firmly bonded patch, pause and check the maker’s guidance.
Do not substitute a metal blade or make a hair dryer part of the default procedure. If the verified method does not work, reassess the product and device condition before adding tools, heat or chemicals.
3. A Cracked Protector Requires a Damage Check
A crack visible through the screen does not establish which layer is broken. Look for damage on the added protector under good light and compare it with the intake record. If the underlying glass might also be cracked, keep the job on a display-damage assessment route instead of promising a simple accessory swap.
- Do not press on a cracked area to see whether it moves.
- Do not scrape fragments across the screen or handle loose sharp pieces with bare fingers.
- If loose fragments make the maker’s removal method unsafe, stop and have a qualified technician assess containment and removal.
- If the display lifts, touch changes, or lines or dark areas appear during the job, stop removal and document the change.
Spigen describes fragment retention for its GLAS products, but that claim does not establish how another cracked protector will behave. A heavily fractured or unknown protector needs its own assessment. Do not generalize one brand’s anti-shatter construction to all tempered glass.
4. UV Removal Depends on the Named System
“UV” is not a complete removal specification. A UV-cured film, a different adhesive or a different model cannot inherit a named glass system’s removal procedure just because the label includes UV. Identify the installed product and use its own current instructions.
For Dome Glass, Whitestone’s removal support article describes releasing the edges carefully and using a thin plastic sheet or playing card; it also mentions floss. The maker warns against excessive force, bending, damaging heat and harsh chemicals. Confirm applicability to the installed product before using any of these options, especially on a damaged protector.
That support article was last modified in 2019. Use it as a named-system reference and check the current product instructions when the model or kit differs. Its cleaning language should not override the phone manufacturer’s restrictions on moisture. Do not rinse the phone or pour liquid beneath a protector.
If the system is unknown or strongly bonded, pause the job and obtain the exact removal instructions. Adding more UV exposure, adhesive or solvent is not a universal release method.
5. Leave Foldable Inner-Screen Films to the Prescribed Service Route
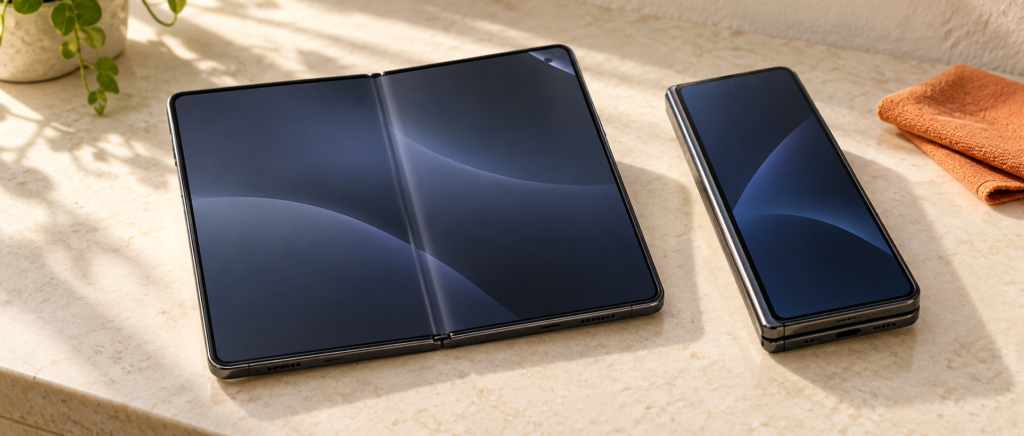
A foldable’s inner screen is a separate service case from an ordinary external glass protector. Samsung’s current US Galaxy Z series screen-protector service guidance recommends against self-removal to avoid screen damage. It directs customers to eligible service locations and says authorized specialists use the equipment needed to align and apply the replacement. Check current eligibility and service options for the customer’s exact model before quoting the job.
Samsung’s regional technical guidance for Z Fold and Z Flip adds that self-removal or an unofficial main-screen film may cause touch abnormalities or screen damage. This is a technical warning, not a statement of US pricing or service terms. Samsung’s earlier US Z Flip FAQ also advises against self-removal; use the current US guidance and service-location resource for the next step.
Record whether the concern is on the inner display or outer cover screen. A lifted edge or a bubble along the fold is a reason to arrange assessment, not a reason to try the card method above. For another foldable brand, use that manufacturer’s model-specific instructions; do not transfer Samsung’s settings or service rules across devices.
6. Clean Residue Within the Phone’s Care Instructions
After the protector comes off, distinguish loose dust, fingerprints and adhesive residue. Begin with the device maker’s approved cleaning procedure. If sticky residue remains, confirm an adhesive-removal method that is permitted for both the protector system and the phone’s exposed surface before proceeding.
Apple’s iPhone cleaning guidance calls for unplugging and switching off the device, using a soft, slightly damp, lint-free cloth, and keeping moisture out of openings. Apple warns that abrasive materials and cleaning products can diminish the oleophobic coating. Its allowance for specified disinfecting wipes is not a guarantee that those wipes will dissolve cured adhesive.
For another phone, use its own care instructions. Do not scrub harder, scrape with a blade, spray cleaner directly on the screen, or assume a household adhesive remover is screen-safe. Persistent residue, damaged glass or uncertainty about the surface is a stopping point: identify the permitted treatment before fitting a new protector over the problem.
7. Check the Phone Before Installing the Replacement
Complete the removal job with a documented condition check. With the phone cleaned and dry according to its instructions, inspect the exposed screen and compare display and touch behavior with the intake record. A new protector should not hide an unresolved display fault or residual adhesive.
- Confirm the replacement’s exact device model and intended surface.
- Check the case fit and the relevant installation guide.
- Inspect for debris and unresolved residue before applying the replacement.
- Record any remaining display, touch or fingerprint-reader issue and explain the next service step to the customer.
7.1 Can the removed protector be reused?
Do not promise reuse. Dust, deformation and adhesive damage can make a removed protector unsuitable. ZAGG’s installation guidance cautions that peeling and reapplying introduces contamination. Although Whitestone discusses conditional reinstallation for its own system, that is not a general rule for glass or film. Follow the exact product’s instructions and replace a cracked protector.
7.2 Is heat needed for a stubborn protector?
Do not add heat as a routine shortcut. The Spigen procedures cited above do not call for it, while Whitestone warns against heat that could damage the phone’s seal. If the approved method stalls, identify the adhesive system and seek the appropriate service instructions.
For a store planning replacement stock, keep ordinary external glass, flexible film and manufacturer-serviced foldable inner-screen jobs separate in the intake workflow. For JJT replacement options, provide the device models, target surfaces and intended installation process through our contact page. Confirm the suitable format and instructions before ordering for customer devices.