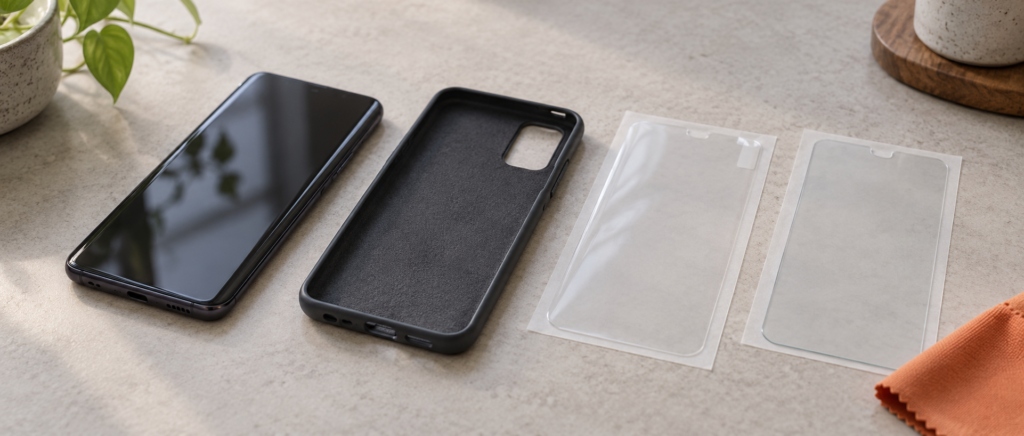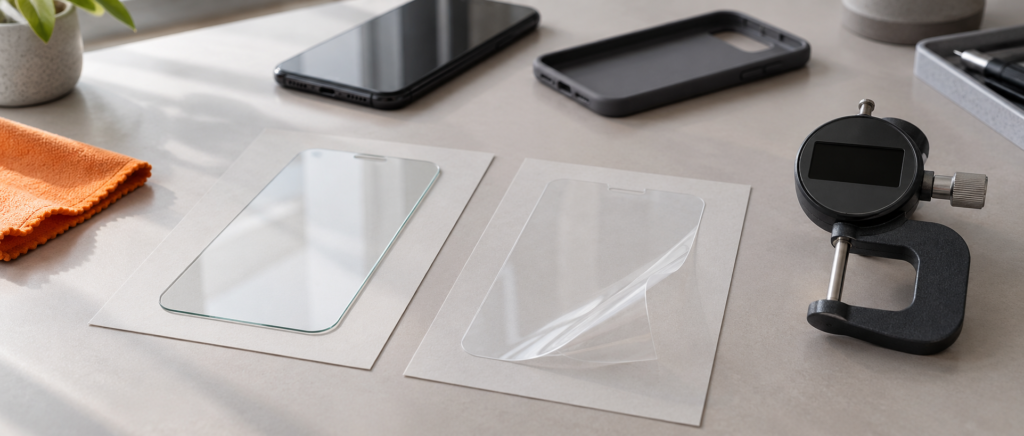
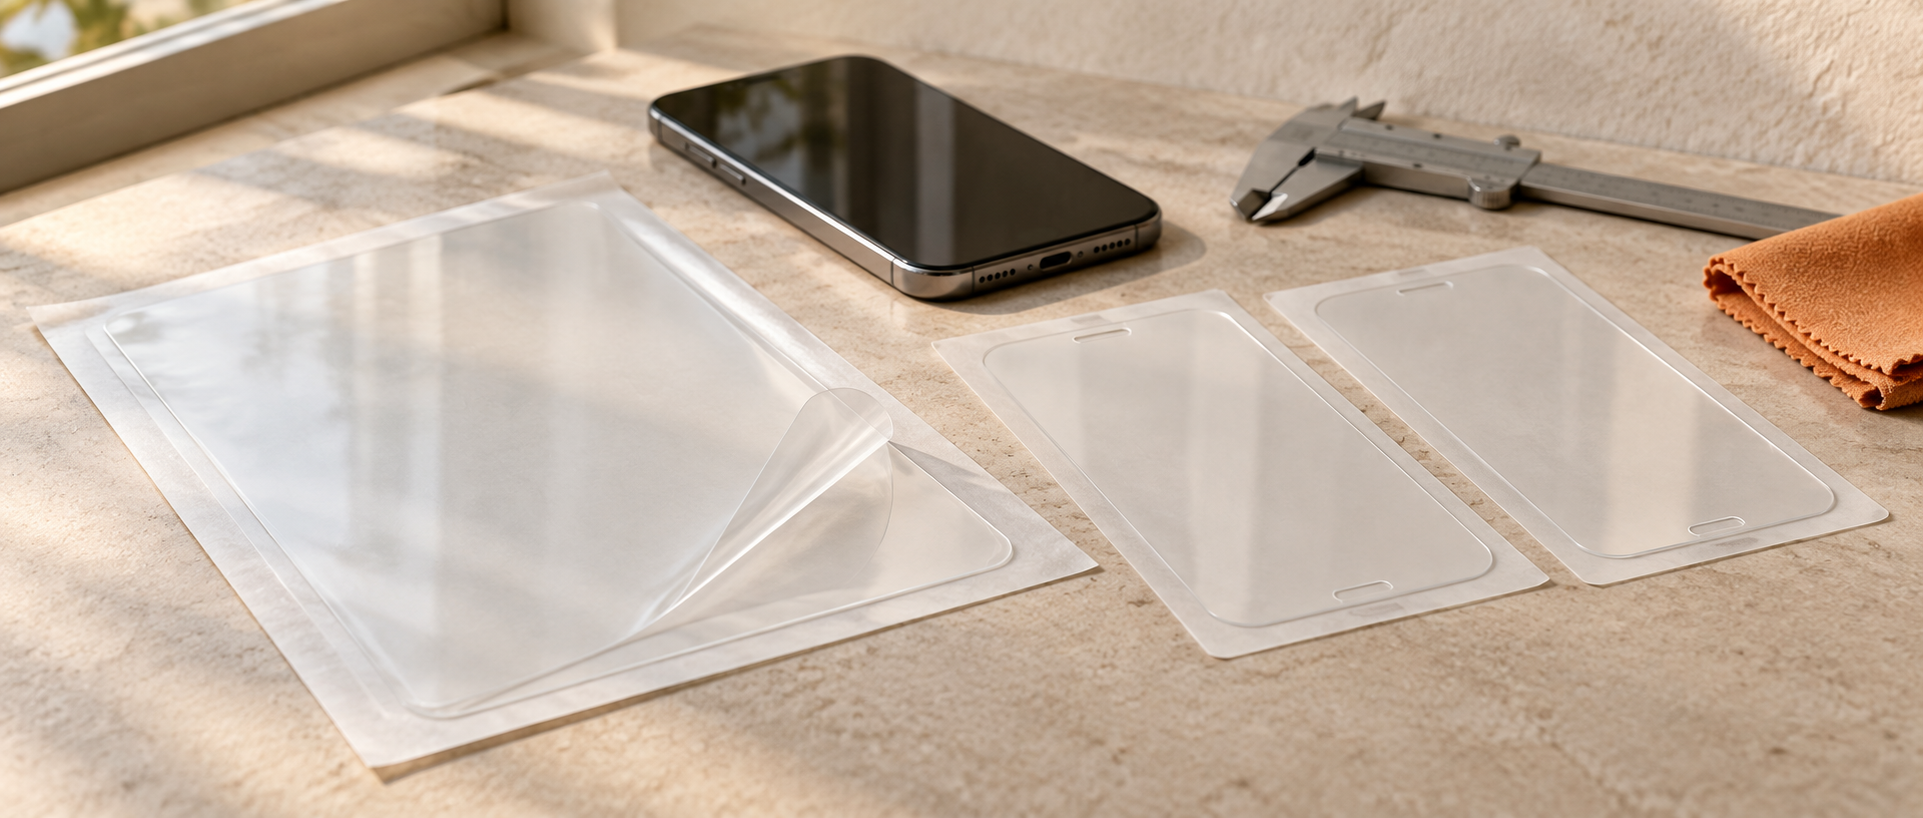
1. How do you check TPU, EPU and PET cutting film compatibility?
Cutting film compatibility depends on the exact finished sheet, cutter and blade, device template, and permitted material access. TPU, EPU or PET film can work when that specific configuration is accepted. A clean cut is only the first check: the protector must also separate from its liner and fit the intended device.
TPU means thermoplastic polyurethane; PET means polyethylene terephthalate. These names identify material families, as described by BASF and Toray. They do not specify the coatings, adhesive or removable layers of a finished cutting sheet. For EPU, use the exact supplier product declaration: the evidence reviewed here does not establish a universal chemical definition or performance standard.
Keep three ordering choices separate: material/version (the exact TPU, EPU or PET item), finish (clear, matte or privacy), and format (uncut sheet or model-specific finished protector). “Hydrogel” alone does not settle any of them. Nor does an EPU label prove scratch recovery, superior scratch resistance or suitability for a factory foldable inner screen.
| Exact film item | Published specification | Still needed for your cutter |
|---|---|---|
| Korean TPU HD Clear | 0.14 mm catalogue thickness; cutting-film format available | Ordered sheet size, loaded stack thickness, liner sequence and approved setup |
| Korean EPU HD Clear | 0.18 mm catalogue thickness; cutting-film format available | Same setup details, plus the product declaration and evidence for any required surface-repair claim |
| PET 5H HD Clear | 0.33 mm catalogue thickness; 196 × 125 mm cutting sheet | Usable area, loaded stack thickness, intended cut layers and PET-specific machine/blade suitability |
The thicknesses belong to different catalogue items; they are not a ranking of quality or an instruction to cut at that depth. The PET item is flexible film, not finished tempered glass. Its “5H” series designation is not a Mohs hardness or drop-test result. If hardness or scratch recovery matters to your range, compare product-specific methods and evidence alongside the samples.
2. Which thickness and liner details do you need before buying samples?
Get the thickness of the stack actually loaded into the cutter, and identify the layers that should be cut. A catalogue protector thickness can leave out a removable carrier or release liner. Two sheets with the same stated thickness may therefore require different loading and cutting instructions.
2.1. Separate the installed protector from the supplied stack
A supplied sheet may contain a top handling layer, protector film or functional layers, adhesive, and a release liner. This is a list of possible components, not the confirmed order or construction of every TPU, EPU or PET product. Label the actual sample layers using its instructions; keep a reference sheet with the packaging.
For a liner-preserving cut, the intended protector outline should separate while the specified supporting layer remains intact. Other workflows can require a different cut. Establish the target before adjusting the blade, including which layer faces the blade and which layers must remain during loading. Stop the trial if those instructions conflict or are missing.
2.2. Collect a usable sample specification
- Identity: exact item/version, finish and sample batch; no substitution under the same material name.
- Dimensions: full sheet size, feed orientation, usable cutting area, required margins and any registration marks.
- Thickness: what the catalogue value includes, total loaded stack thickness, and separate layer values where available.
- Layer handling: loading side, removal sequence, layers to cut, and the layer that must remain intact.
- Trial instructions: the proposed blade, starting setup and adjustment procedure for the named machine and film.
A sheet fitting through the feed opening does not prove the device outline fits the cutter’s working area. Check both limits, with the required margins, before ordering a larger sheet.
3. Can your cutter, template and account use that exact sheet?
Check the supplied machine model and configuration, not just its brand or a “universal cutter” description. Record the blade type and condition, holder setup and software version. Use instructions for that machine–film pairing; do not copy pressure or blade-depth numbers from another cutter’s video.
There is a useful model-specific example: Mietubl’s MTB-CUT M180T Q&A says it can cut the 0.45 mm PET material asked about, with setting adjustments and greater blade-wear considerations. It also distinguishes flexible TPU/PET film from glass, which that machine cannot cut. This is Mietubl’s stated capability for its machine, not proof that a JJT sheet or every PET grade works in yours.
JJT’s H310Pro PET hard-film cutter is another material-specific enquiry route. Its page separates accepted sheet width from cutting width and requires the selected PET sheet, thickness and setup to be confirmed. A related-product link does not replace a documented trial of the exact pairing.
3.1. Verify physical fit, template fit and permission separately
Mietubl’s MTB-CUT 180TPro Q&A permits third-party materials but says differences in thickness, hardness and size may require blade-scale and pressure adjustments. Its standard template access and custom-design functionality are also distinct. Treat this as an example of why permission and cutting ability need separate answers; it does not establish JJT’s account policy.
- Physical fit: the cutter accepts the sheet, blade and intended material, and the outline fits inside the usable cutting area.
- Template fit: the exact device, screen position and desired coverage are available on the trial machine; cutouts and case clearance match.
- Permission: the supplied account allows the material and template to be used; any required material code is available. Custom-file import must be confirmed separately.
If the account blocks a job or the template is missing, changing blade pressure will not solve that problem. Resolve access first. For recurring charges and purchase terms, use the separate cutting-machine cost guide.
4. How do you test a new film against your current stock?
Use your current accepted film as a control where available. Compare the candidate on the same machine, device outline and installation conditions, while using the approved setup for each film. Keeping one pressure setting for all materials would compare an arbitrary setup as much as the films themselves.
The following is a proposed buyer procedure, not a report of completed JJT testing. Agree the sample quantity, device range, observation period and acceptance limits before starting. Keep test sheets away from customer installations until the configuration is accepted.
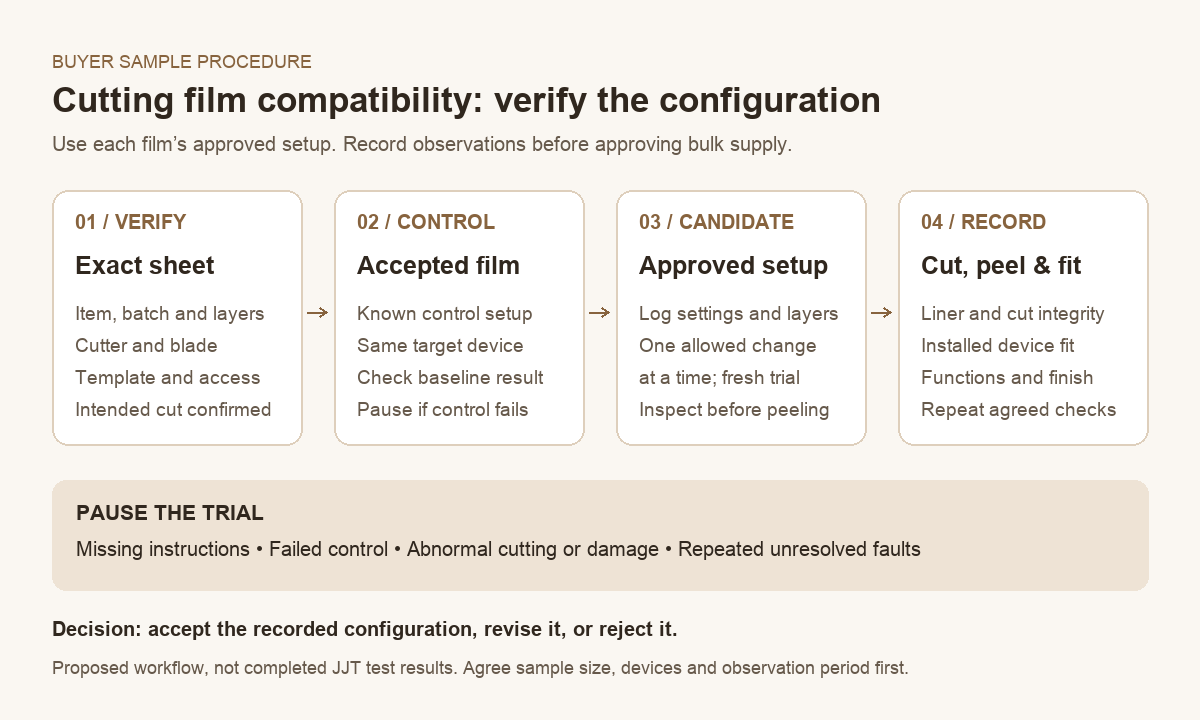
- Establish the control. Run your current film with its known setup. Record the cut, liner separation and installed fit. If the control fails, pause candidate comparisons and resolve the machine or loading issue first.
- Run the candidate’s approved starting setup. Record item, batch, orientation, retained layers, blade and all settings. Inspect the cut before removing the supporting layers.
- Change one allowed setting at a time. Follow the machine supplier’s adjustment procedure on a fresh trial area or sheet. Log each change and outcome so a successful cut can be reproduced.
- Separate and install. Follow that film’s liner sequence. Check complete openings, clean edges, alignment and case clearance on the exact device. Test typing, edge taps, gestures and any required fingerprint function.
- Check the finish and repeat. Compare clarity, glare or privacy under the agreed conditions. Repeat across the agreed sample set and relevant devices, including the installation observation period. Request defined product evidence for durability or recovery claims that a short cutting trial cannot establish.
4.1. Keep a record you can reproduce
| Record | Current accepted film | Candidate film |
|---|---|---|
| Item, batch and layer sequence | Record identifiers | Record identifiers |
| Machine, blade, template and settings | Known setup used | Approved setup and each change |
| Cut and supporting-layer integrity | Observed result | Observed result; photo reference |
| Peel, installed fit and required functions | Observed result | Observed result; device/case used |
| Repeated trials and observation period | Accepted / attempted; conditions | Accepted / attempted; conditions |
| Decision | Control valid or issue to resolve | Accept exact configuration / revise / reject |
Approve the recorded configuration, not the material family. A change of film construction, finish, batch behavior, blade, machine or template may require another check. For a factory foldable inner display, a cutting test is not service approval; follow the device maker’s guidance and the inner-versus-outer screen service boundary.
5. What should you check when the sample fails?
Separate a cutting fault from a peeling or installed-fit fault before changing settings. Mietubl’s incomplete-cut explanation identifies blade scale, pressure and blade wear as possible causes in its workflow. Its published numerical settings are not universal JJT presets. Use your machine’s procedure and the sample record to narrow the cause.
| Observed problem | Check in order | When to stop |
|---|---|---|
| Protector does not cut through | Confirm retained layers and orientation; inspect blade/holder condition using the machine instructions; compare the approved setup and control result. Adjust only within the specified procedure. | The control also fails, approved adjustments do not resolve it, or no setup is confirmed. |
| Blade cuts through a liner that should stay intact | Reconfirm the intended cut and loaded stack. Compare depth/pressure with the approved setup; inspect support damage before another trial. | Damage reaches the cutting surface, layers shift, or the liner cannot remain intact within the approved procedure. |
| Cut outline is difficult to peel | Check for incomplete segments first. If the outline is complete, review the correct separation layer and removal sequence; compare another sample from the same batch. | Peeling tears or stretches the protector, transfers adhesive unexpectedly, or requires force outside the supplied method. |
| Installed edges curl or lift | Inspect the cut edge, alignment, case contact and required installation steps. Compare control and candidate after the same agreed observation period. | Lift repeats despite a correct outline and installation. Do not treat more cutting pressure as an adhesive or case-fit remedy. |
Preserve failed sheets and send photos of both sides, the film label/batch, machine and blade details, template, settings and the control result to support. That evidence is more useful than “PET does not work.” Stop immediately if the blade catches, sheets slip or the machine behaves abnormally; follow its operating instructions before inspecting or servicing it.
5.1. Send a complete film-and-machine sample brief
Use the checklist below to request comparable samples from JJT. If you do not know the loaded stack or approved setup yet, list those as required supplier responses rather than guessing values.
- Exact candidate item/version and finish; your current film and reason for changing.
- Machine brand/model/configuration, blade type and condition, software/account and required template access.
- Required sheet size, usable cutting area, device models, screen positions and cases used.
- Required layer construction, thickness basis, loading/removal instructions and matched starting setup.
- Sample quantity, US delivery destination and agreed cut, peel, fit and finish acceptance checks.
- Evidence needed for any claimed hardness, scratch recovery or durability; packaging requirements for the later order.
Keep the accepted sample identifiers and setup with the eventual order so a reorder refers to the same product and workflow.